- Project structure overview
As there is a great amount of features in the game, it’s better to separate features into different files. So we have one game.hpp file where we declare methods and tables and we have lots of smaller .cpp files in which we implement them.
Here you see the structure of our project.
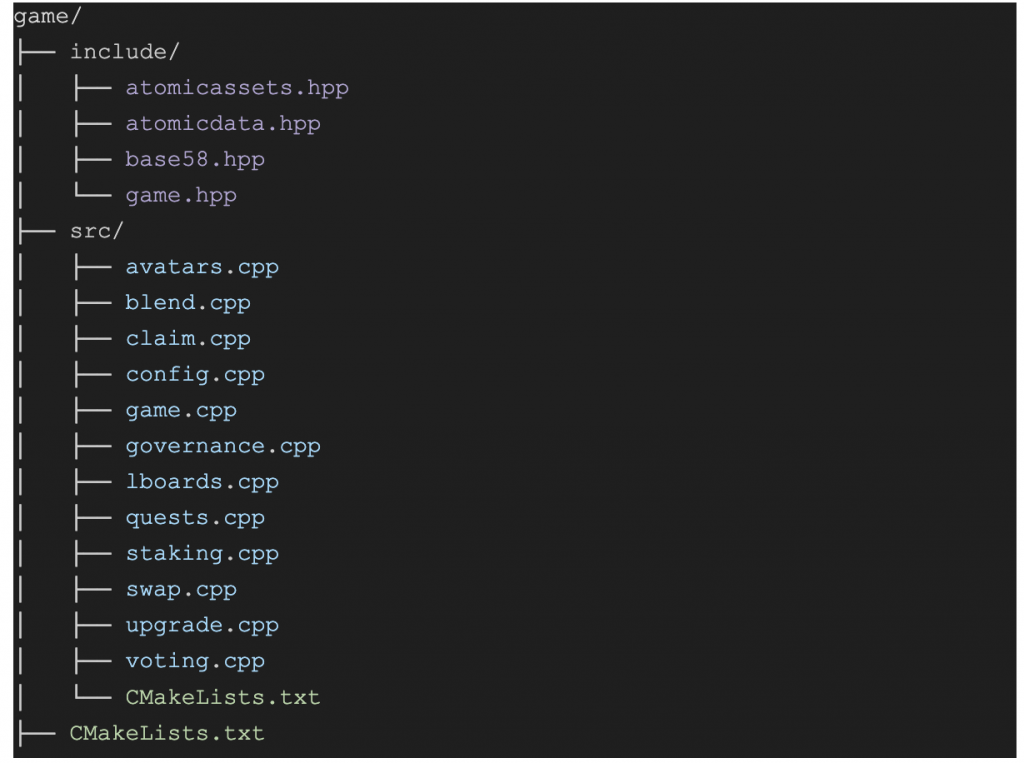
In include directory we have game.hpp file and 3 files describing tables and methods for communicating with atomicassets contract.
In src we have lots of .cpp files which implement features declared in game.hpp and CMakeLists.txt which allows us to combine these files together. Here is it’s content.
project(game)


set(EOSIO_WASM_OLD_BEHAVIOR "Off")
find_package(eosio.cdt)


add_contract( game game quests.cpp config.cpp governance.cpp lboards.cpp game.cpp staking.cpp claim.cpp upgrade.cpp swap.cpp voting.cpp blend.cpp avatars.cpp)


target_include_directories( game PUBLIC ${CMAKE_SOURCE_DIR}/../include )
#target_ricardian_directory( game ${CMAKE_SOURCE_DIR}/../ricardian )
In the game folder we also have CMakeLists.txt file which describes arguments for compilation.
include(ExternalProject)
# if no cdt root is given use default path
if(EOSIO_CDT_ROOT STREQUAL "" OR NOT EOSIO_CDT_ROOT)
  find_package(eosio.cdt)
endif()


ExternalProject_Add(
  game_project
  SOURCE_DIR ${CMAKE_SOURCE_DIR}/src
  BINARY_DIR ${CMAKE_BINARY_DIR}/game
  CMAKE_ARGS -DCMAKE_TOOLCHAIN_FILE=${EOSIO_CDT_ROOT}/lib/cmake/eosio.cdt/EosioWasmToolchain.cmake
  UPDATE_COMMAND ""
  PATCH_COMMAND ""
  TEST_COMMAND ""
  INSTALL_COMMAND ""
  BUILD_ALWAYS 1
)- Getting WAX-CDT
Follow thorough instructions from WAX Developers Portal.
- Building project using CMake
To build project we should create build folder, init cmake and begin building. (“-j 8” means usage of 8 threads for building and greatly speeds it up). You need to use next commands.
mkdir build
cd build
cmake ..
make -j 8
After completion of building in folder build/game you will have game.abi and game.wasm which will be used for deploying contract.
- Creating wallet
We begin by creating wallet using cleos wallet create command. It outputs password to the console.
cleos wallet create -n mywallet --to-consoleNow we import private key to this wallet. We use private key for account swaaxft22111.
cleos wallet import -n mywallet --private-key (YOUR_PRIVATE_KEY)- Deploying contract
Now we can deploy our contract to the testnet. -u url specifies which blockchain we use. Set contract swaaxft22111 specifies which account will contain smart contract. ./game game.wasm game.abi specify the folder where contract abi and wasm can be found.
cleos -u https://testnet.waxsweden.org set contract swaaxft22111 ./game game.wasm game.abiNow contract is deployed and we can call its methods.